How to Select Cooling System Parts for Heavy Trucks
 Apr 30 , 2026
The Silent Threat: Why Your Heavy Truck’s Thermal Efficiency Drops Mid-Journey
You are climbing a steep grade with a full load. Suddenly, the temperature gauge needle creeps into the red. You pull over, pop the hood, and see coolant seeping from a cracked plastic tank. For fleet owners and owner-operators, this isn’t just an inconvenience; it’s a profit killer.
Most people assume that simply replacing a broken water pump or radiator is enough. But in heavy-duty applications, selecting the wrong replacement components can lead to a cascade of failures—cracked heads, blown gaskets, and unexpected downtime. So, how do you move beyond “just replacing” to “upgrading intelligently”?
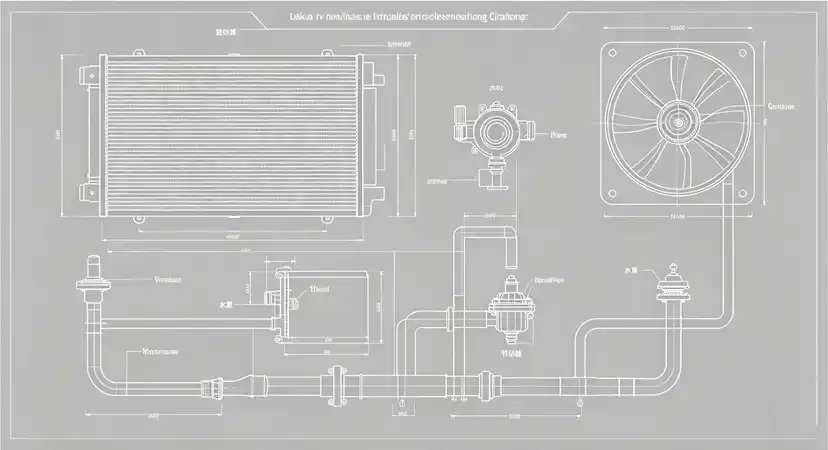
Step 1: Diagnose the Root Cause, Not Just the Symptom
Before spending a dollar on parts, understand why the system failed. Was it a physical rock puncture? Electrolysis eating away the metal? Or simple fatigue?
-
The Pressure Test: Always perform a cooling system pressure test before ordering parts. A drop from 15 PSI to 10 PSI indicates a leak you can’t see.
-
The Contamination Check: Open the radiator cap (when cool!). If the coolant looks like chocolate milkshake, you have an oil cooler failure. If it smells like exhaust, you have a head gasket issue.
Pro Tip: Don’t let a parts supplier sell you a new radiator if your root cause is a failing fan clutch. You’ll just ruin the new radiator.
Step 2: Material Science – The Radiator Core Debate
When selecting a radiator, you face a critical choice: Copper/Brass or Aluminum/Plastic.
-
Copper/Brass: Heavier, expensive, but easier to repair in remote locations. Excellent for older rigs.
-
Aluminum/Plastic: Lighter, cheaper to manufacture, but highly susceptible to heat cycle fatigue at the crimped seams.
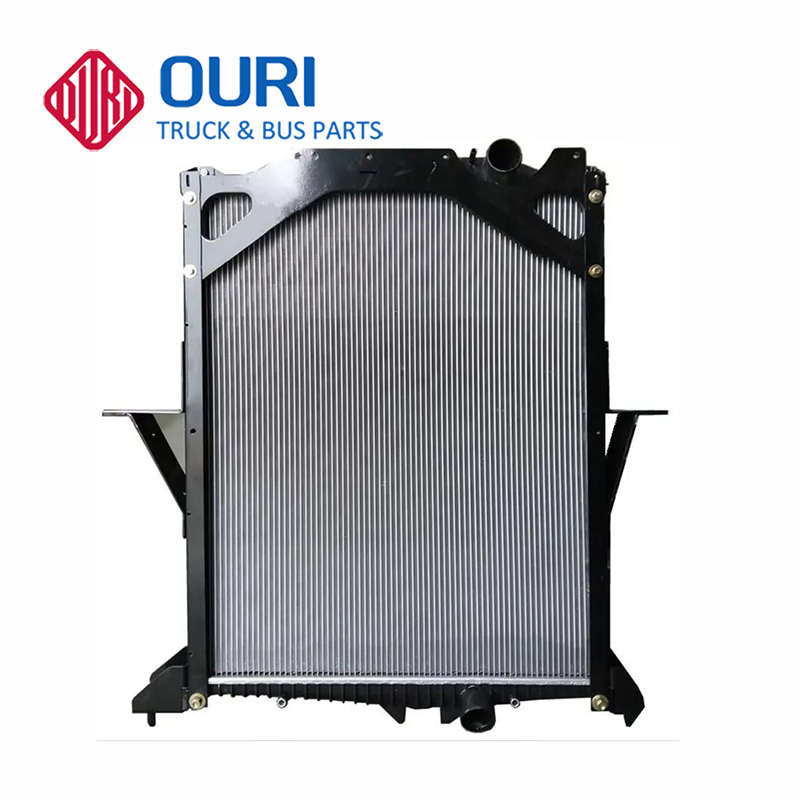
However, modern fleets are shifting toward all-aluminum brazed cores. Why? They eliminate the plastic tank failure point entirely. While they cost more upfront, the reduction in roadside blowouts often justifies the expense. If you are running a sleeper cab or operating in high-heat environments (Arizona, Texas, or Australia), the thermal transfer rate of an all-metal radiator is superior. For a deeper look into all-aluminum construction, you can review the technical specifications here.
Step 3: The “Parasitic Loss” Calculation (Fan Clutches)
The fan clutch is often the most overlooked component. A fan that runs 100% of the time robs you of fuel economy (up to 10% loss!). A fan that never engages fully will cause overheating.
You need a thermal fan clutch that matches your engine’s specific torque curve. Don't rely on universal fit guides. Check the engagement temperature range. For modern electronic engines, the fan should engage around 210°F (99°C) and disengage around 190°F (88°C). Anything else is guesswork. Explore fan clutch selection parameters to match your engine's torque curve precisely.
Step 4: Water Pumps – Flow vs. Pressure
High flow is not always your friend. While a high-flow water pump moves coolant faster, if the coolant moves too quickly, it doesn't spend enough time in the radiator to shed heat. This is a common misconception.
For heavy trucks, you need proper impeller design (cast iron vs. stamped steel). Stamped steel impellers are cheap but cavitate easily, creating air bubbles that act as insulators. Cast iron impellers move fluid with more consistent pressure, ensuring the coolant actually transfers heat.
Common Mistakes That Void Warranties
Even with the best components, installation errors kill cooling systems:
-
Mixing Coolant Types: Never mix ELC (Extended Life Coolant) with conventional green coolant. It creates a gel that blocks passages.
-
Ignoring the Charge Air Cooler (CAC): A leaky CAC blows hot compressed air directly onto the radiator, raising temperatures by 20-30 degrees.
-
Reusing Old Hoses: A collapsed hose under suction will shut down flow immediately.
Building a Preventative Maintenance Schedule
To avoid the “parts cannon” approach (throwing parts at a problem until it fixes itself), implement a data-driven schedule:
-
Every 15,000 miles: Visual inspection of belt tension and hose pliability.
-
Every 50,000 miles: Coolant analysis (check for SCA levels in older engines).
-
Every 150,000 miles: Pressure test the coolant reservoir cap. A faulty cap that can’t hold pressure lowers the boiling point of your coolant, leading to spontaneous vapor lock.
Where Reliability Meets the Road
Selecting the right parts isn't about buying the most expensive option on the shelf; it's about matching the engineering to your operating environment. You need a supplier who understands that a logging truck in Oregon has different thermal needs than a grain hauler in Kansas.
If you are looking for a comprehensive range of heavy-duty thermal management solutions, you can view OURI's cooling product line for heavy trucks. Their focus on all-aluminum construction and direct-fit OEM specifications helps eliminate the guesswork we discussed today.
Final Checklist Before You Buy
-
Verify the core thickness (4-row vs 5-row). Make sure you have the chassis clearance.
-
Confirm the fan clutch is programmable or thermally matched.
-
Demand a warranty that covers both parts and labor for manufacturing defects.
-
Ask about the country of origin for the motor cores.
Your truck is your asset. Don't treat its cooling system like an afterthought. A cold engine won't move you forward, but neither will a boiled-over one. Choose wisely, drive hard, and keep the gauge in the green. For specific sizing and compatibility, check the product configurations before ordering.